I enjoy crafting- stamping, sewing, embroidery and jewelry making! I am a Stampin' Up demonstrator and I love sharing what I love! I blog about my favorite stamp sets & techniques. I have an online store at http://www.stampinup.com/ECWeb/default.aspx
I have an Etsy shop online (link is here). All prices reflect material used and time spent constructing. You may notice that one card may cost more than another- likely because one had more materials put into it than the other.
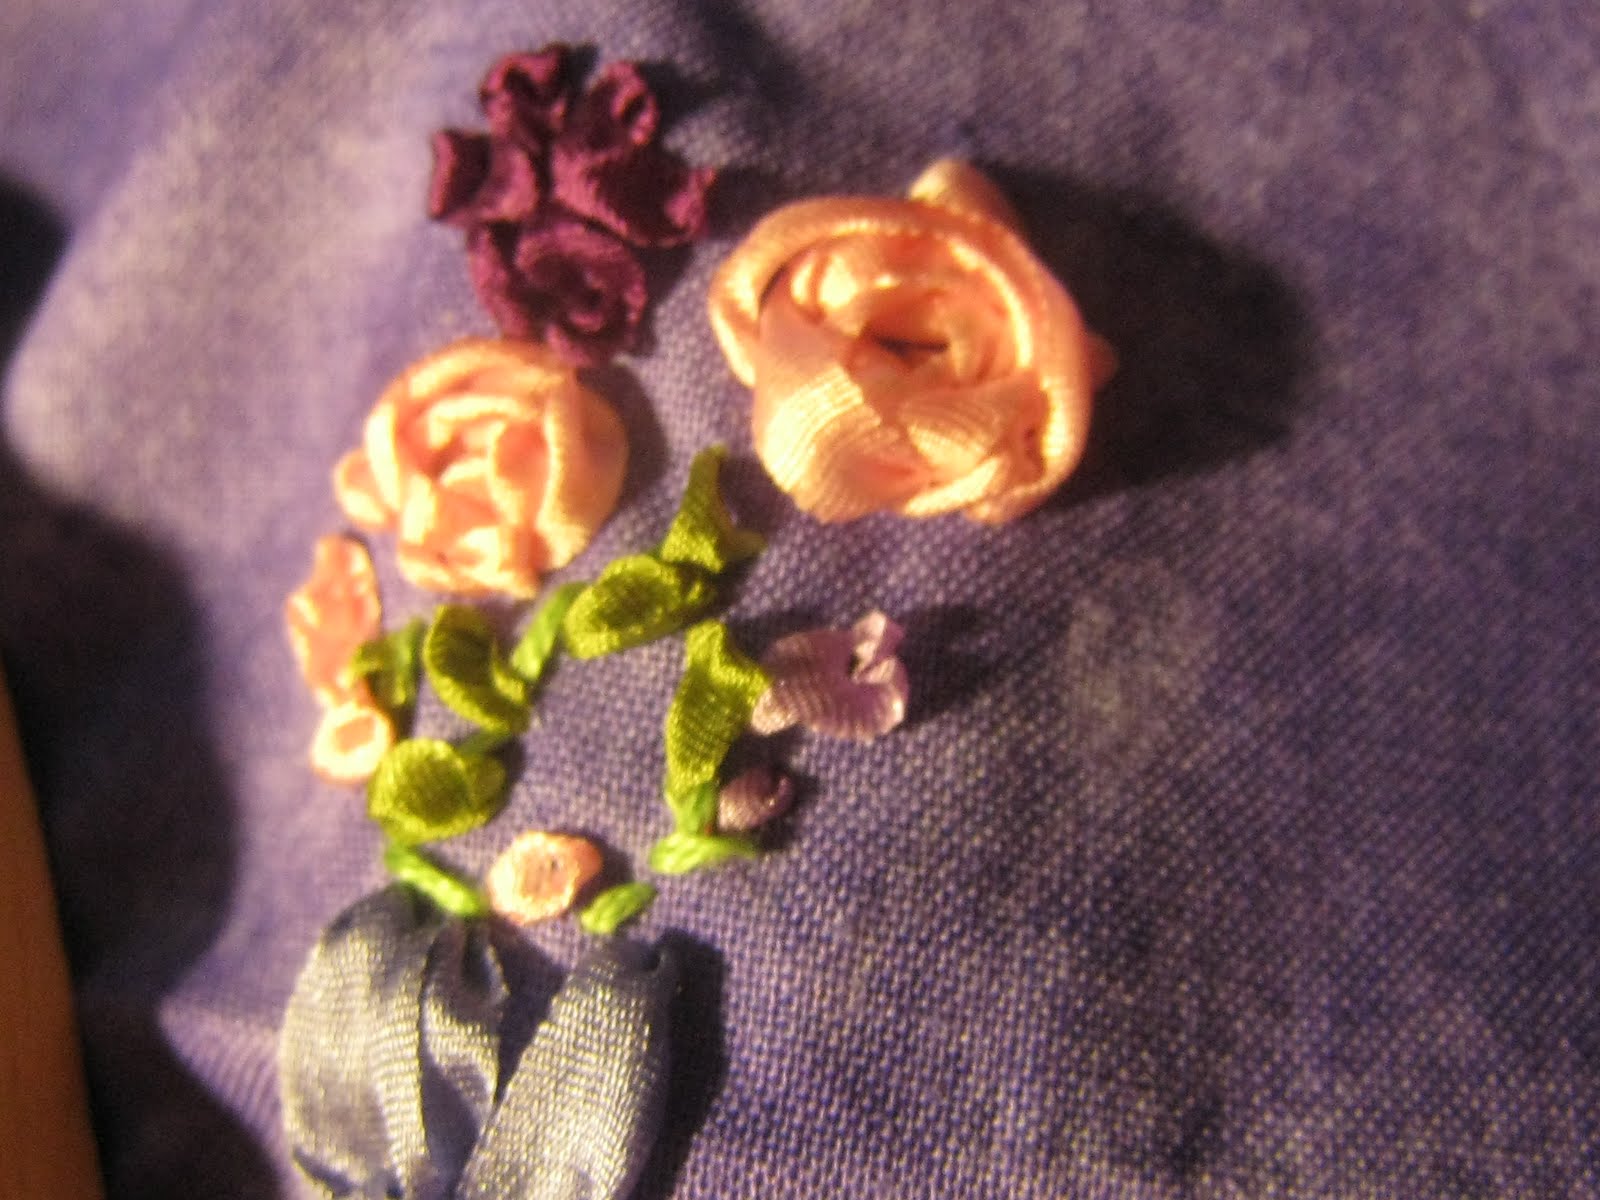
A snap shot of a two tone rose that I am aiming to capture. I am going to show a bit of my supplies to let you know what I have to work with. All open to alchemy requests, of course. This is all 100% ribbon that is purchased from an excellent supplier.
I thought that I'd share some of what I've been working on with you. I've been on a Mermaid kick of late. Here are a few quick snapshots: Actually, its time to go to Nicky's birthday party! I'll be back with pictures! ~Anne
I am back from vacation (hiking in Laguna) and come with a product review! I brought several products from http://www.etsy.com/shop/ljctree because the cabin had a wonderful bath. The bramble cup cakes were the all time favorite! I don't see any listed on her site, but perhaps she could be messaged to make a custom listing. We brought two and wish we had bought more!
The Johnny Appleseed Cup Cake was also stunning. It smelled divine (and was also so pretty that it was a shame to use it). If you need a long bubble bath, look up Laurie! ~Anne
Thanks for stopping by. I have decided to try for three new wristlets idea- One plain (for your own ideas!), one with a custom monogram & one with a ribbon embroidery design.
Sample of Ribbon embroidery design [with spider web roses and purple foxglove buds]
I also am enjoying a few new headband ideas. This is a headband while it was in progress. It features bluebells, purple irises & purple foxgloves. The color is a bit off, I got excited and took it by the 'good energy' light bulb at my computer desk.
There will also be a 'purple passion' line where I will earmark which designs use the same fabric & would complement each other. MSG me to make a custom listing for a set or to have me create a custom set for you!
My Mom also has shared a good idea that she has- a cupcake apron! I personally think that it is adorable. Here is a peek at the fabric: I'll let you know if she lists it!
Today was a wonderful day. I stitched several of my new monogram pouches (that will be up soon!) I am also taken with doodling these days. Mostly butterflies and mermaids. I saw a lovely butterfly cross stitch at JoAnn's the other night. It was very large (21 X 30) and would only be useful as a wall hanging. Yet I see mermaids and fairies as a perfect company for a ouch or headband. I shall see what meshes when i sto doodling and start making patterns.
What would you like to see for the next tutorial? I am working on spider web roses & ribbon stitch rose petals & full open roses. Comment and let me know! Or else I shall have to draw it out of a hat!
Hello! I also want to apologize for my spotty presence on this blog and on Etsy. I got some odd virus that caused me to lose my voice for several days. In the midst of that, the 'check engine' light on my car caused me some distress (and lost me the use of my car for a few days). Thankfully it was all sorted out, but I felt out of sorts!
I spent some of the down time sketching new ideas- including new monograms. I am currently sewing a few writs-lets & pouches that are turning out well!
I went to the Del Mar fair yesterday- and the Botanical Gardens were gorgeous. There were glorious hybrids- including purple trumpets that had bright green edging on the petals! I was inspired by the flowers. I took many photographs to bring the flowers to you over the course of the week! If you are going to the fair, I caution against trying the odd deep fried food. My boyfriend & I tried a deep fried Klondike bar & I was sick hours later. The waffle fries were delicious, though!
Today is the Giveaway day for the fifteen dollar gift certificate. I am looking over the nominees now and using a random generator to choose the name. There will be a fifteen dollar gift certificate awarded to the winner and a five dollar gift certificate awarded to a runner up!
Aestraea has won the fifteen dollar gift certificate! alli has won the five dollar gift certificate! Thank you for participating, it means a great deal that you choose to follow me. Please shop normally in my store and use your names in the 'message to seller' at check out. I will refund your giveaway prize and the shipping charge, shipping your purchase to you for free.
I hope you enjoy the promotion of one of my new items that you will also be recieving.
A few new 'felt fobbies' made with silk ribbon! Very fun to make and it looks lovely with that depth of silk ribbon. Here's an 'English Garden' snapshot.
Here's one of my new designs for embroidery: Links! Fobbies: http://www.etsy.com/listing/49387131/monogram-a-felt-key-fob-embroidered-with http://www.etsy.com/listing/49387668/purple-silk-ribbon-roses-key-fob
Hello! I am having the first ever giveaway! To enter: 1 - Follow this blog! 2 - Tweet about the giveaway on Twitter if you have one! 3- Post a comment here about a favorite item in my store!
[This is where you can comment to enter the giveaway!]
Now its pretty clear that 15 dollars could buy some items completely! Four new items went up last week. I'm also taking Aes* advice and making more embroidered monograms to have listed by the time this giveaway comes to an end.
The Giveaway winner will be announced on Monday, June 14th! Thank you. ~Anne
Knowing that there are so many talented artists & artisans united in helping the Gulf recover warms my heart. Wonderful title for your treasury, altdesignsjewlery. Thank you so much for putting together this beautiful snapshot of what HTGC is all about. ~Anne
I mentioned it earlier, but here is the shop! Stop by and see if something catches your eye- and feel good knowing that you are helping with the oil situation in the Gulf! http://www.etsy.com/shop/HelpTheGulfCoast
Here's the piece that I've sent inShow your items (and link!) in the comments! ~Anne
Thanks for stopping by for the leaf tutorial! I've created a new sampler to have fresh pictures to show you. We're building off of the prior Fuchsia and Stem tutorials, so please check those out.
Step one assumes that you've created your flower and stem. Sweet. Now we go onto the care free and fun area, leaves. Leaves fit in just about anywhere. If you accidentally poked a needle through somewhere and have a big glaring hole, you can put a leaf there! I strongly recommend against sewing to hide tears or stains, be honest with your buyers. Sort of a wierd tangent, but back to the leaves!
Decide which leaf type you will like to embroider. Fanciful and whimsical? Lazy Daisy. Perfectly formed and elegant looking? A ribbon stitch leaf!
The Lazy daisy begins by pulling the thread or ribbon to the front of the fabric. Now you place it very close to where you brought the needle through and pull through to the back slowly. Be careful not to snag the knot with the needle. When you get a well formed loop, bring the needle up to the front of the fabric where you'd like the leaf to form. Continue to pull the thread through until it forms a good loop. If you want a tighter leaf, pull the thread so that the loop forms behind the thread you just pulled up. Place the needle on the other side of the thread, tucking it in. Bring the needle to the back of the fabric and you've just completed your first lazy daisy! Lazy Daisy Part 1 Part 2
Part 3 part 4 part 5Completing the stitch: Place the needle down right behind that leaf shape.
Congrats! You just made a lazy daisy leaf! Here are some options with lazy daisy stitches: Stop by later in the week to learn the other leaf stitch pictured here, the ribbon stitch leaf. Practice your ribbon stitches and I bet you'll come up with your own ribbon stitch leaf techniques! If you need a refresher on ribbon stitch (and french knots) stop by the archives: http://serynascreations.blogspot.com/2010/03/technique-thursday-french-knot.html Stop on by to comment & share. ~Anne
Thanks for stopping in for the fuchsia leaf tutorial. I recommend stitch the fuchsia flowers first. The initial step of the leaves is 'connecting' the flowers to stems, so if you commit and stitch the stems first than you are- well, committed to sticking to that for the piece.
Step one- start at the top of your flowers. You will now thread one strand of embroidery floss and lay the frame work for your flowers leaves. Here are two examples of how your final piece could look:This is where you will stitch that top 'loop'. It can look like a mound on the 'm' . 2. Connect the buds and flowers via thin connecting stems. If you have a two - tier piece like the dark pink fuchsia, I begun the stems at the bottom. A quick straight stitch connects the bottom well. For the two end fuchsia stems, I suggest a lazy daisy. Look at the above picture. You can tell that there's no real lazy daisy stitch. What I did was make a long stitch and then slightly pull and pin it to give it a curved shape.
The leaves shall be coming, I'm going to go photograh some!
I have decided to support two charities this month- The Whalemen Foundation & the Help The Gulf Coast (the latter is on Etsy). You can find more information on the charity here: http://whaleman.org/index.htm and the Etsy movement to help the Gulf Coast here: http://www.etsy.com/forums_thread.php?thread_id=6539292
I hope to have some time to embroider pieces solely for these projects this week. Look for a new 'charity' section on my shop for the Whalemen Foundation and for some of my pieces to be in 'Help the Gulf Coast'.
Do you have any advice for what these pieces could be of? ~Anne
I apologize for a 2 Am tutorial, but I'm excited after completing these flowers. I may be editing this after some sleep!
For these flowers, I chose a new batch of ribbon that I bought from SilkStudio (http://www.etsy.com/shop/SilkStudio) in lovely shades of deep purple, varying light purple and thin pure white. To begin, lock your darker color (in this case, the dark purple) onto your chenille needle and make two straight stitches. Leave about two needle widths between the stitches. The stitch can be as long as you like, experiment!
Bring your needle up above where you have made your straight stitches. I like to make these as close as possible to the initial straight stitches, but you may want to start a little higher depending on how full you will like these full straight stitches. Make a few straight stitches across the top of of first two stitches, but place the needle very close to where you come up and do not pull the ribbon through- let a little loop form.
Well done! Fasten off the dark purple and thread your next lightest color. I locked on my light purple and set about make very loose, artsy ribbon stitches. You want to bring these up near your purple 'loop' stitches and let them lay over the tops of them. Play with the ribbon to get it to lay in a nice fuschia shape. Remember that with ribbon stitches, you place the needle through the ribbon and pull through. To keep from pulling your pretty ribbon stitch through, place your off hand against the hoop and a finger over the stitch.
Once you get a few nice looking stitches, fasten off the ribbon and select your white stamen color. The next stitches are very easy- a few straight stitches beneath the dark purple straight stitches. Go ahead and add a few more flowers. You can create unfinished buds with a lazy daisy stitch placed under a french knot.
Here's another 'how to' with the loop straight stitches:
Here's a few completed flowers!
As soon as I can, I'll get back on with how to add leaves to these flowers. I hope that you've enjoyed the tutorial! *Edit* The tutorial has been added. See the new tutorials - stem & leaves- to see how to go from there to here:
I'm proud to announce a new piece- a garden in bloom with blue irises and roses creeping up the poles! I am especially proud of how these roses turned out. French knots may be simple, but these were stitched in 9 mm, which is harder for me to manipulate. I bought a larger chenille needle that seemed to make all the difference!
Irises are on the fast track to becoming my favorite flower to embroider. Please stop by and let me know if the listing seems appropriate! http://www.etsy.com/listing/48780746/silk-ribbon-embroidered-blue-irises-and
I'm not entirely certain what the Steampunk genre is about, but I am becoming impressed with it. Especially its intricacy- look at this piece by earthfirestudio: http://www.etsy.com/listing/47889947/steampunk-ring-vintage-watch-bronze-ring
I love the glitter to it as well as the cogs and the watch like aspect of it.
Then there are pieces that seem so feminine married with functionality. http://www.etsy.com/listing/47918017/steampunk-necklace-ooak-the-steampunk?ref=v1_other_2
I almost expect to touch something and have the working pieces of a watch to churn about on this piece. Its no secret that I love feminine things (and LJCTtree's soaps!) . I wonder how on earth this is crafted. Do you know what Steampunk is all about?
I have to say, this is a lovely treasury. It makes me feel as though I'm wandering through a rose garden. It's inspired me to go create a new rose listing :)
 A snap shot of a two tone rose that I am aiming to capture. I am going to show a bit of my supplies to let you know what I have to work with. All open to alchemy requests, of course. This is all 100% ribbon that is purchased from an excellent supplier.